Background:
Industrial quality inspection has always played an important role in industrial production. With the development of technology and industrial production, GD&T performance becomes more and more popular in many industrial fields.
However, due to the trends of product customization different size & shape or high accuracy requirements, industrial quality inspection is a very time-consuming and low efficiency process, especially for big parts, under the limitation of traditional measurement equipment.
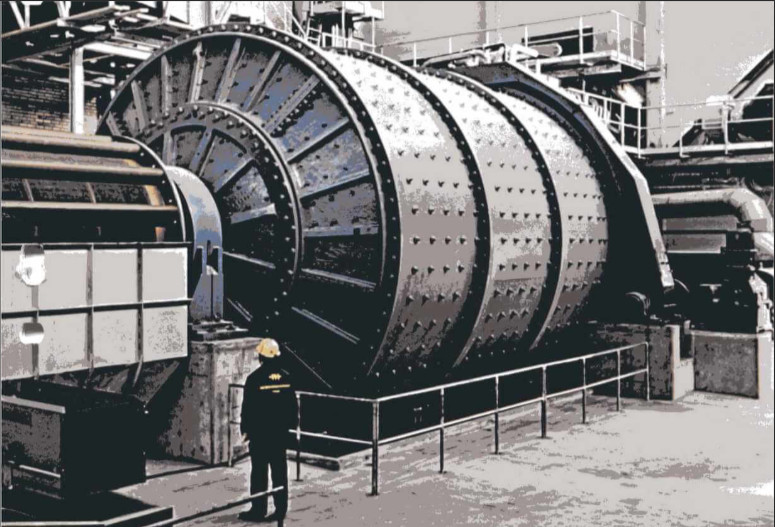
In casting and forging, raw parts are usually machined in some critical areas to obtain the final part.
In order to secure enough material for raw casting to be machined, it would be very necessary to carry out dimensional inspections.
The scanning data allows operators to align the raw part with CAD file and orient it, which can show enough material for the operation directly. Such complete dimensional inspection will generate immediately inspection results for the part to be machined, and will save time and cut the cost down dramatically.
In this way, ZG HyperScan DX, Dynamic Tracking 3D scanning technology proves to be a quick, precise and efficient tool to perform a complete dimensional inspection.
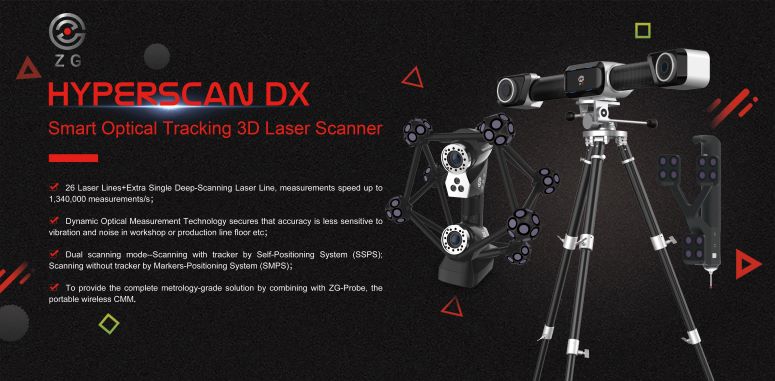
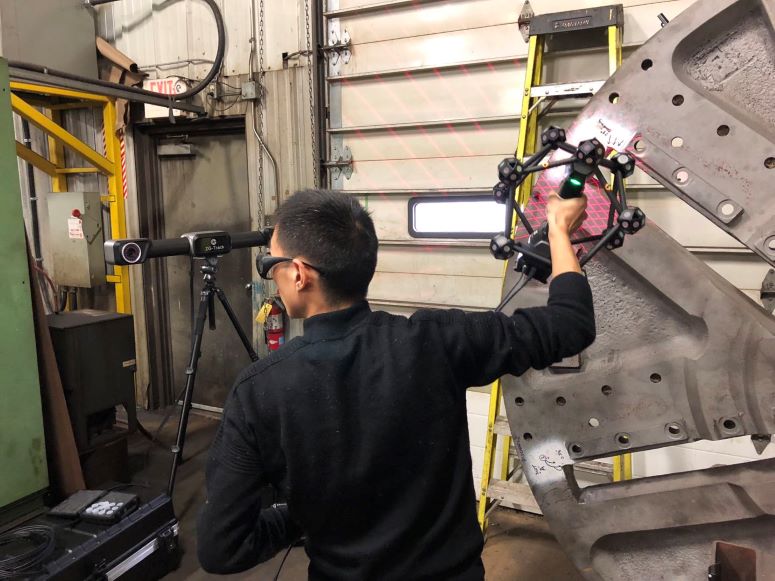
How to acquire the scanning data by HyperScan DX?
#1, HyperScan DX setup on-site;
#2, Connect device with power and warm up for 20mins;
#3, Analyze how to scan the casting part from different angles;
#4, Start to scan the casting part;
#5, Change the position of ZG-Tracker to collect the whole scanning data;
#6, Save the data in project file for further processing;
How to process the complete scanning data?
#1, To process the data in ZG Scanning software;
#2, To edit the data and extra data;
#3, To export the data in the format of .stl for the next evaluation;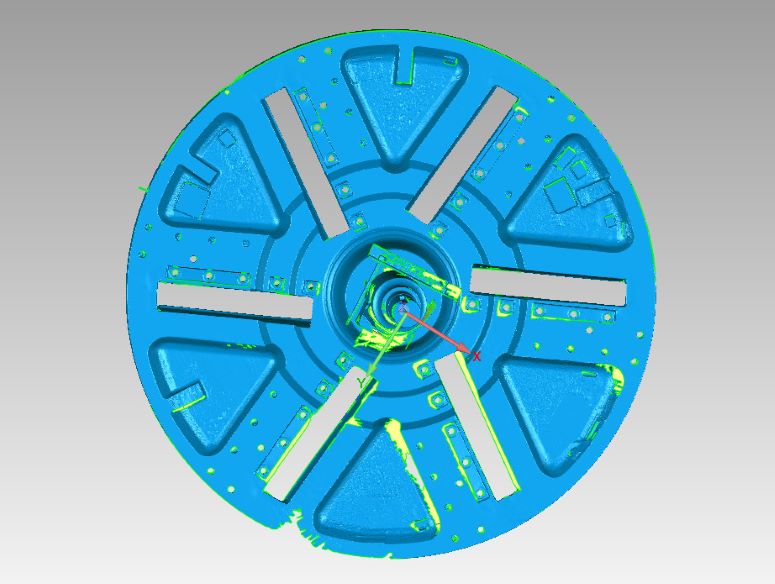
#4, To compare the scanning data with CAD file to check the deviations and generate color map with notes and detailed report;
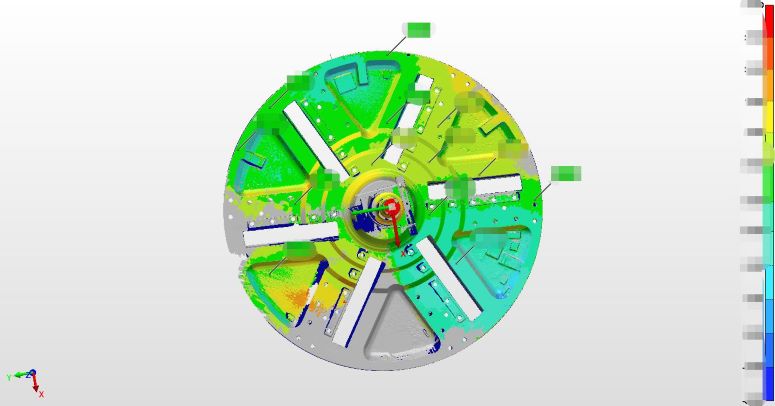
ZG HyperScan DX Solution Conclusion
Full size inspections for casting and forging requires the acquisition of dimensional data on parts of various shapes and complexity, potentially performed in any kind of working environment.
Due to its impressive portability and versatility, the HyperScan DX can perform the acquisition of any part directly at the foundry, but also at the customer’s sites, or even on the work shop floor.
Usually, the corresponding solid model of part will be used to assess its physical part by quality inspectors or operators, considering this point, the scanning data must be and accurate which includes all the information needed for a complete inspection.
Based on the functionalities, HyperScan DX can provide either complete and accurate mesh models or point clouds to fit in customer inspection software.
Thanks to Dynamic Tracking Technology and super scanning speed, HyperScan DX can finish all the scanning job within 1 hour without any rigid setups compared to the traditional way CMM and Scan Arm.
HyperScan DX solution helps save a considerable amount of time when compared to traditional measurement methods. Plus, it provides high precision inspection data that can be documented and reproduced much more easily than that of visual inspections and manual inspection jigs.